Showing posts with label wooden sportfisherman. Show all posts

Monday, December 23, 2019

Electrics on 27ft Sportfisherman "Dedication"

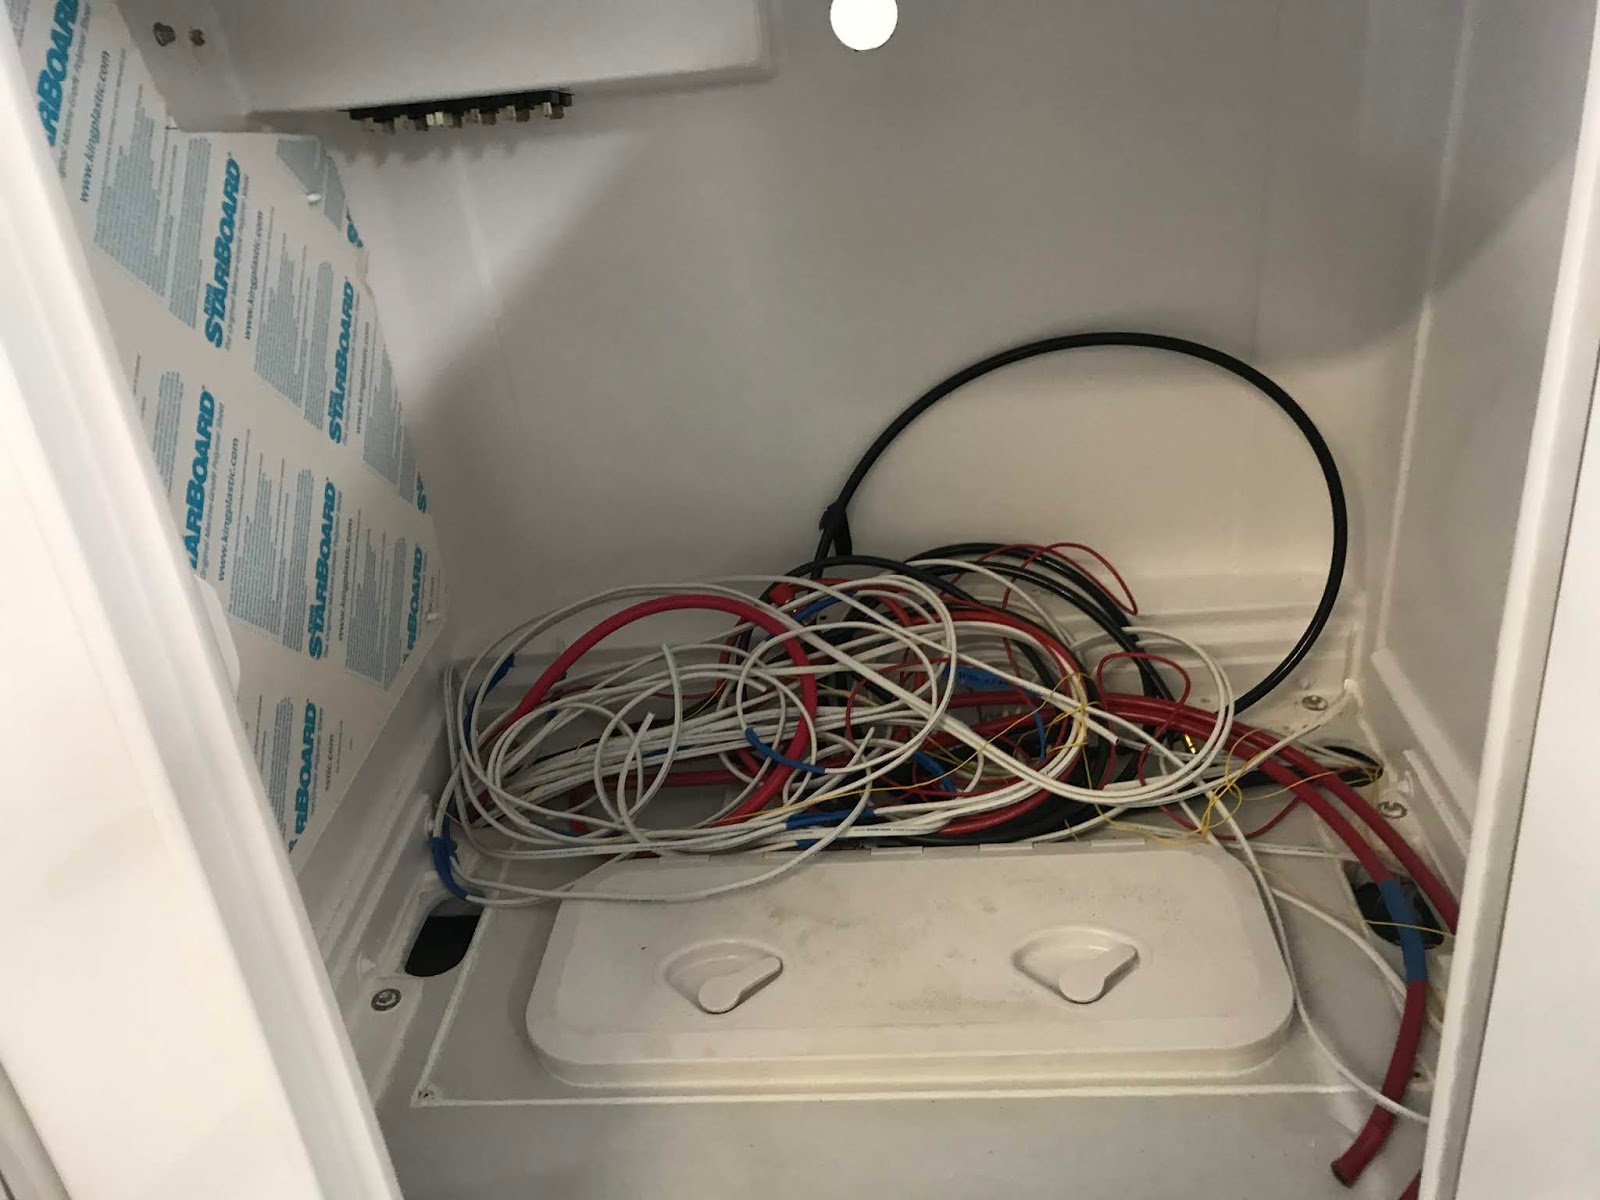
In my last post we had finished pulling cables and hoses through the ducts to their connection points. Most of the cables ended inside the console, coming up from the ducts under the deck. Also into this area came two hydraulic hoses for steering.
A mess of wires and hydraulic hoses, waiting to be connected.
One side wall inside the console is given over to battery switches, breakers and busbars. These were pre-mounted onto a Starboard panel, then the panel was mounted into the console for wiring.
Battery switches, breakers, busbars etc being laid out on the Starboard panel before mounting in the console.
`The main switch panel is mounted under a hinged cover on the outside of the console alongside the helm. This panel was pre-wired with the positive cables, ready for connecting to the power busbar and clearly labelled.
Switch panel pre-wired and ready for mounting in the console.
With those panels in place, Kevin has been closeted inside the console making all of the connections. All connections are soldered then sealed with heat shrink tubing. All wires are clearly labeled with their purposes to help with later maintenance and fault-tracing.
Wiring in progress. The hole in the side of the console at bottom left below the panel connects to the mounting of the starboard forward leg of the tower. Controls for the crows nest helm will run up this leg and through the hardtop.
Switch panel to the right of the helm, protected by the hinged cover. The ignition switch will be in the open space just to the left of the switch panel. Engine throttle and gearshift will be to the right of the helm.
Making some of the hose connections to the tanks, seacocks and pumps can be challenging. Some of them are awkward to reach and to manipulate the hose, clamp and screwdriver one-handed. Long slim arms and supple hands are a big benefit.
This compartment contains the black water holding tank on the left and the fresh water tank on the right. The black fitting against the other side of the compartment is the Y-valve to control output from the holding tank to either the pump-out or the seacock. Inside this compartment there are five 32mm hose connections, two of 1" and two of 3/4". The order of connecting must be planned because some of the hoses block access to other fittings if done first. 
This design is not yet on our website. Visit our main website or our mobile website to see our other designs.

Tuesday, October 29, 2019

27ft Sportfisherman "Dedication"

Launch day gets closer for the amateur project 27ft sportfisherman of Kevin Agee. Aside from the physical progress on the boat, she has also been given a name. She will be named "Dedication" for the commitment that Kevin put into building a high quality boat. That will also be the design name, when I can get around to completing the drawings.

Since my last post we have installed the fuel tank. Kevin has painted the cockpit and deck and connected the fuel filler hose. On Sunday we fitted the cockpit access covers over the fuel tank connections and installed the centre console and leaning post.
Deck & cockpit painted, fuel tank installed. The grey areas are a sprayed non-skid and the white areas are gloss. Rod holders have been installed in the side decks. The two immediately aft of the sheer break each side will hold the bait board supplied by Australian company Stainless Boatworks.
Flush panel over fuel tank, with access covers over connections.
View of aft end of cockpit. Insulated fish box is in the centre, with a locker each side for access to bilge pumps and fish box drain controls. The cockpit drains are at the ends, draining under the lockers then through the transom below the stern platform.
Console and leaning post installed. Each has access to the hinged cover inside, over the tank plumbing.
The leaning post has a large bait tank and aft-facing seat. The bait tank has semi-circular ends to allow the water to swirl rather than splash when surging from wave action.
All painted except for varnishing the toerails.
Work has been ongoing on the tower. Assembly of the tower on the boat will start next week. When the tower, hardtop and crow's nest are complete she will go to the engine shop to have her engine mounted on the bracket.

This design is not yet on our website. To see our design range go to our main website or our mobile website.

Sunday, October 13, 2019

Painting the 27ft Sportfisherman

The 27ft sportfisherman that Kevin Agee is building as an amateur project in Virginia is in the painting stage, with final finishing coats going on during the past two weeks. He is using an Alexseal paint system, from undercoats through to finishing coats.

A big bugbear for anyone trying to get a top quality high gloss finish, whether on a car, boat or almost anything else, is dust settling on the surface either during or immediately after spraying. It creates tiny imperfections in the finished surface that can be seen on very close inspection. Dust is in the air all the time, even though we don't see it unless the lighting is just right to highlight it. It is aggravated by painting in a workshop space where woodwork and sanding has been done because the dust produced will have settled on all horizontal and sloping surfaces and even on walls and other verticals. From there it goes back into the air when disturbed by any breeze or draft, including those created by the spray equipment.

Preparing for painting concentrated on making the work space as clean as possible. All tools and materials no longer needed for the final phase of the project were removed for storage elsewhere, partly to clear the work space and partly to remove all potential dust sources. Then the boat was towed out of the workshop before hosing down all surfaces of walls, ceiling, floor and steel structure with water to wash out all dust. All had to air-dry before any painting could begin because of the risk of drips from above.

See the captions of the photos for explanation of what is happening.
This is the final sanding of the finish primer. The turquoise color is a guide coat of food colouring in alcohol. It is sanded until no turquoise remains to ensure a smooth surface with all minor imperfections filled.
Finish primer has been sprayed over cockpit and deck surfaces and sanded, ready for finish coats.
Holes for hardware and instrumentation for the console have been cut and the items dry-fitted to check for good fit before preparing for finish coats.
Console, leaning post and access covers have been sprayed with finish coats. Beyond them is the hardtop, with the bottom facing into the shop. The bottom of the hardtop is the same colour as the hull, the rest of it white. The bottom will be sanded and prepared again because of perimeter imperfections where some masking tape adhesive remained after cleaning with alcohol. A stronger solvent is needed to remove all traces of adhesive.
Three coats of Etheral Blue Alexseal Premium Topcoat, sprayed to a nice gloss.
Transom and outboard bracket, sprayed the same colour as the rest of the hull.
Reflections in the hull side showing the high gloss finish. 
The fuel tank was delivered by the fabricator during the week. It has been pressure-tested and test-fitted into its compartment under the cockpit. Now it has been abraded all over with 220 grit paper, then acid-washed before painting with a heavy coating of epoxy barrier coat. This was all done with TotalBoat products.
The 110 gallon fuel tank, as delivered by the fabricator. It has two baffles, one running fore/aft on centreline and the other transverse at the midpoint. It has spigots for inlet, vent and two outlets, as well as fuel gauge sender unit. The corner brackets on the top are for bolting to the hull girders.
After abrading, acid-washing and drying, the tank is ready for painting.
Tank painted with a thick coating of TotalBoat epoxy barrier coat.
The next step will be to spray the cockpit and deck, so we covered the toerails with masking tape and draped the hull with plastic sheeting, to shield it from white over-spray.
Draped, ready for deck painting.
Kevin's boat is now only weeks away from completion. I will complete the drawings after launch and seatrials. Until then, see our other designs on our main website or our mobile website.
Thursday, August 22, 2019

27 Sportfisherman Tower Begins

The 27ft Sprtfisherman being built by Kevin Agee in Seaford, Virginia, is moving into the final stages. Work has started on the tower, with the metalwork being done by professionals. Kevin has been working on the non-metal components that will be attached to it. I will let the photo captions tell the story.
Foam cored fibreglass roof  being laminated over the hoop of the tower. The hoop has been wrapped in plastic to keep it clean. At this stage the top surface has been glassed to set the camber.
Bottom of the roof, with trenching formed with a router for conduits and recessed lights.
Roof trimmed to final shape and pods added for aftdeck floodlights, almost ready for glassing.
Upper helm pod being glued up from Coosa board. This will be on a hinged crows nest that will fold down in front of the tower to reduce height for trailing.
Completed upper helm pod, ready for hardware and electronics, then mounting on the crows nest.
Hardware for cabin doors and hatch dry-fitted ahead of final finishing. All fastener holes for hardware are being drilled over-size, then filled with epoxy. The cured epoxy is then drilled for the fasteners, keeping the plywood or foam core sealed against leakage and rot.
The console has a recessed panel for key controls and switches, with a hinged cover. The sapele mahogany helm pod, shown in my previous blog entry about this boat, will be mounted to the left of the panel. Electronics will be mounted in the surface above the wheel.
Dry-fitting the trim tabs to the transom, below the wings of the engine bracket. They must be set at the correct height and angle to operate correctly.
The sapele mahogany toerail has been sanded and sealed with three coats of epoxy, Another three coats of epoxy to go, followed by 8-10 coats of varnish.
The bow capping of the toerail has worked out really nicely, hand-shaped from a section of sapele mahogany plank where the grain would sweep part-way around the corner.
This design won't be on our website until after Kevin's boat is in the water and sea trials have been completed. To see our other design, go to our main website or our mobile website.

Sunday, July 14, 2019

Consoles of 27ft Sportfisherman

In my last post about Kevin Agee's 27ft sportfisherman project I was cutting the parts for the pod on which the helm will be mounted. Kevin glued the parts together while I was away at the Wooden Boat Show in Mystic Seaport, CT. Then last weekend I completed the shaping and sanding. Last week Kevin applied six coats of epoxy, to be followed by at least eight coats of varnish.
The helm pod, shaped with hand tools then sanded, ready to receive epoxy coatings.
Helm pod with the wheel in the approximate position.
The sapele helm pod with epoxy coatings. Many coats of varnish to come.
Kevin has been working on the anchoring system for the leaning post and console and on the hatches that will give access to the fuel tank plumbing connections. The tank will be anchored to the hull structure under a large removable flush panel in the deck below the console. Hinged plastic watertight access panels inside the console and leaning post are fitted into the flush panel for quick access.
Hinged wateright access panel over front of fuel tank, inside the console. A similar one is inside the leaning post, over the aft end of the tank.
The console and leaning post will be bolted to the deck with 2x2x1/4" aluminium angle brackets. These have been cut to fit the spaces, then acid washed before coating with aluminium primer/barrier coat, then paint. The aluminium tank will receive similar protective treatments.
2x2x1/4" Aluminium angle anchors for the leaning post and console, after acid-washing.
Now they have been coated with a sprayed aluminium primer/barrier coat.
Kevin has also laid out and cut the holes for the many rod holders that this boat will have in the sidedecks. Two on each side will serve as mounting positions for the rather nice bait board supplied by Stainless Boatworks in Australia. The others are angled incrementally to fan out the rods along each side.
Console and leaning post in position for checking fastener positions for bolting to the deck. Rod holder holes have been cut through the sidedecks.
This model of bait board has been supplied by Stainless Boatworks in Australia, dropping into rod holders in the sidedecks.
The holes for this hardware will be sealed with multiple layers of epoxy resin for waterproofing, before painting hull and deck.

This design is not on our website yet. See our other designs on our main website or our mobile website.

Wednesday, May 15, 2019

27ft Sportfisherman

I may not have been paying enough attention when I started posting about the 26ft sportfisherman project of Kevin Agee. When we first discussed this proposed design it was to be about 26ft, so that was what I called it. But it grew a bit between first discussions and agreeing the final lines. It is actually a bit over 27ft from stem to transom, so it is now the 27ft sportfisherman project. And that project is now moving into the final finishing stages.

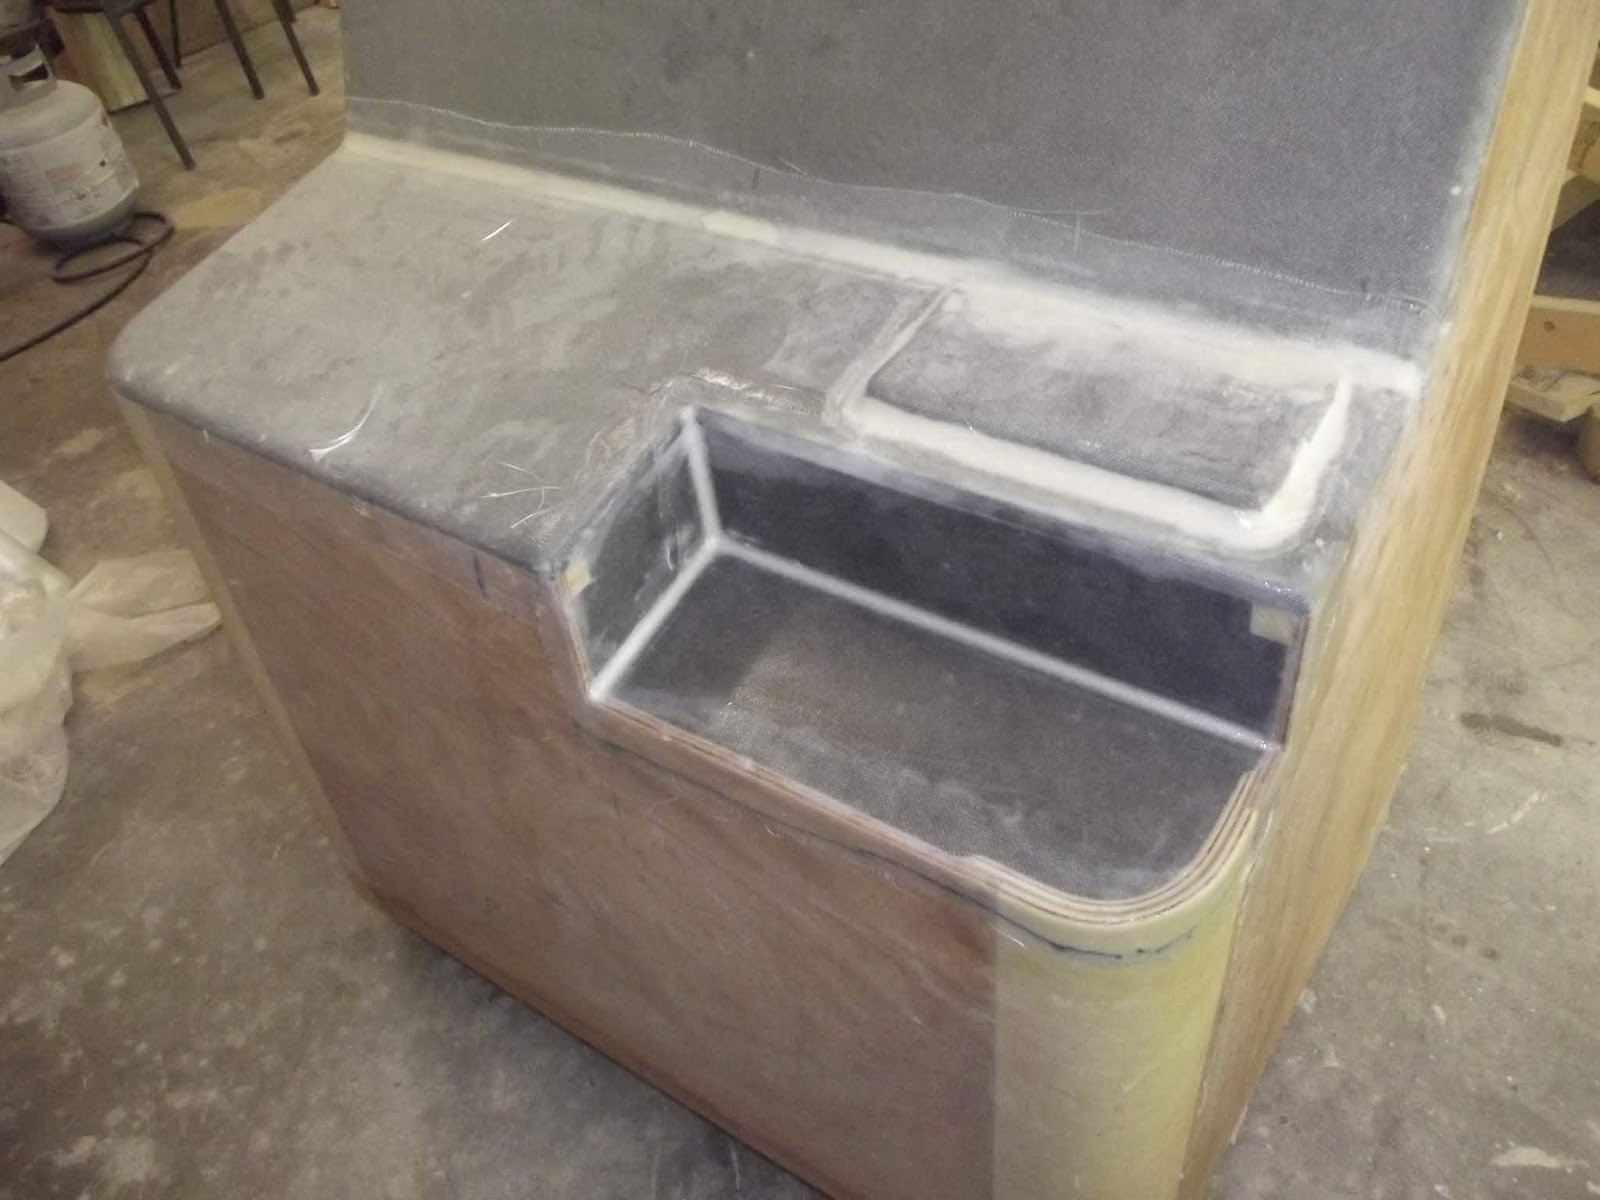
Having glassed the console, next we took a skillsaw to it. That was not to destroy it but to form a concealed switch panel with hinged cover to protect it from the elements.
Console after cutting to form the switch recess. The removed part will be used to form a hinged cover.
This is the infill piece that will fill in the hole in the console, with the switches mounted in the horizontal surface. We made this from 15lb Coosa Board.
The infill piece has been glued into the console. When finished it will hold the electrical switches, including the key-switch for ignition. 
Work has also started on fairing and priming the deck and rubrails to ready them for final painting.

After two coats of high-build epoxy applied by roller, the deck is ready for sprayed fairing compound.
Kevin took delivery of his new double-axle trailer, which had been set up by the supplier to suit the hull bottom. We jacked the boat with trolley jacks, supporting it on boat stands and axle stands, then dismantled the cradle from underneath. Pushing the trailer in under the boat was an interesting process, with trolley jack and axle stand playing leapfrog with trailer frame and axles.
New double axle trailer.
Jacked and supported on boat stands and trolley jack, the cradle was dismantled.
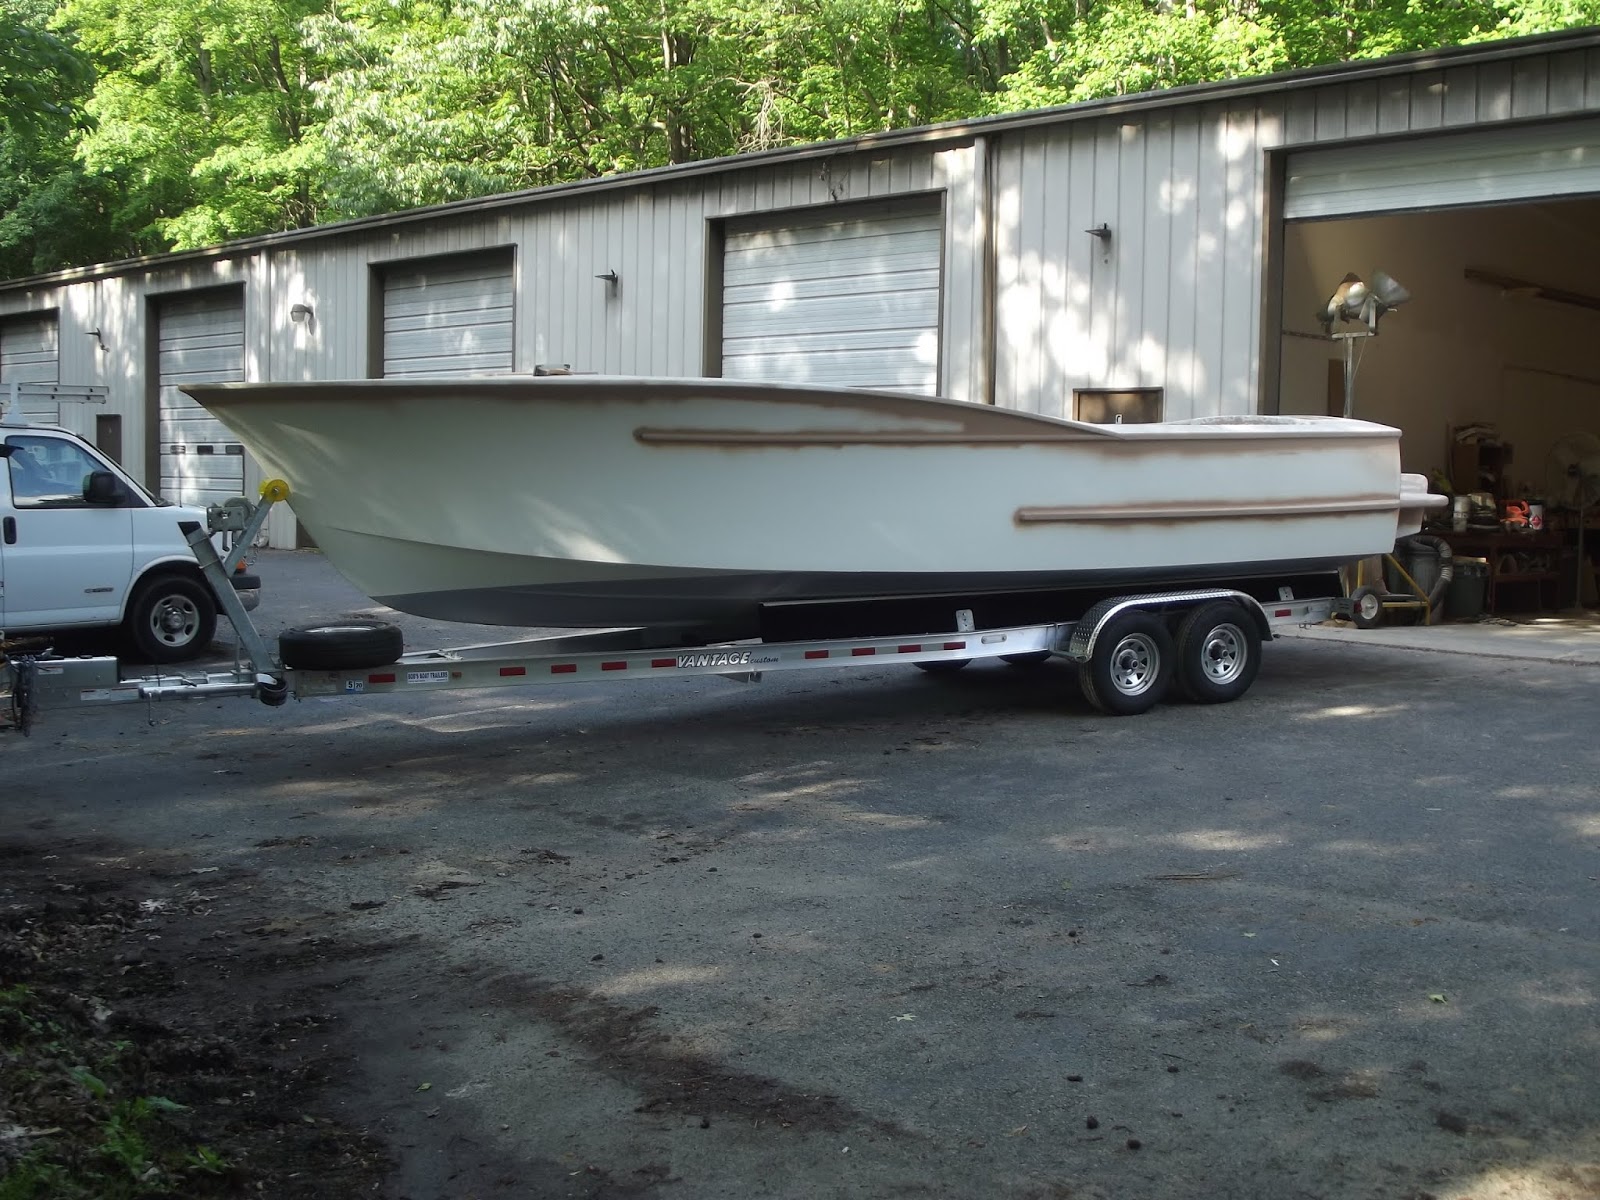
Safely on its trailer, the new boat came out of its shed for the first time.
Showing its lines in daylight.
For the first time we are able to step back and look at the transom and engine bracket.
Launch is still a few weeks away. Plans won't be available until after she is wet and has done some sea-trials. See our full range of designs on our website or mobile website.