Showing posts with label Amateur boat building. Show all posts

Friday, January 24, 2020

Memories of a Trans-Atlantic Race

This week I was sent a photo that brought back good memories, 24-year old memories of our first Cape to Rio Race on "Black Cat", in 1996. It was sent to me by Gavin Muller, who was the youngest in our 5-man crew. He took it on the last night of our race, as we were sailing between our Brazilian landfall of Cabo Frio and the finish line off Copacabana Beach, Rio de Janeiro.
From left, Adrian Pearson, Brian Cole, Dudley Dix and Sean Collins. Sadly, two are no longer with us, the others are scattered around the world.
The Cape to Rio Race is 3500 miles of tradewind ocean racing, starting in Cape Town and finishing in Rio de Janeiro. A race like this breeds friendships that last a lifetime. Most of us were good friends before the race and the three weeks in close quarters in the middle of nowhere, in company of seabirds and the occasional fish or whale, cemented those friendships forever. Gavin was the odd-man-out at the start of the race, being much younger than the rest of us, but he too became a friend for life.
Gavin Muller repairing our light spinnaker.
Adrian Pearson (RIP) was my partner in "Black Cat". Brian Cole introduced us while I was building our boat for the race, bringing him in as crew. Later he joined me to co-finance the project.

Brian Cole (RIP) was the oldest in our crew, at 60. He was a director of North Sails Cape Town and a regular on the crew of my previous boat, "Concept Won". He joined us on this race as navigator for his first and only ocean-crossing voyage. His wife, Marion, was co-skipper with Judy Provoyeur of the all-lady crew of the Schumacher 41 "Kelly Girl", our closest handicap competition in the race. On handicap, they had to reach Rio more than 20 minutes ahead of "Black Cat" to beat us.

Sean Collins was a client many years ago for a rig redesign on his cruiser. He became a friend, sailing with me for many, many miles on "Concept Won". We raced together uncountable times in fully-crewed and double-handed races around the buoys and around the coasts of the Cape of Good Hope, quite justly also named "Cape of Storms". We had much experience sailing in mild weather and in those storms.

Gavin Muller, at 21, was not long out of college. His math teacher, an acquaintance and also a boat owner at Royal Cape Yacht Club, had asked me if I had a crew slot available for Gavin, who had previously sailed a Cape to Rio Race with him while still a school boy. Another friend of mine had to withdraw from the crew and Gavin slid into his spot.
Another of Gavin's photos. This one shows me in the bosun's chair working on the headstay foil, damaged by the spinnaker pole. The big cat watches over me.
"Black Cat" is the prototype of my Didi 38 radius chine plywood design. I designed her primarily for this race, starting to formulate the concept while racing to Rio in 1993 as navigator and sailing master on the Shearwater 39 "Ukelele Lady". I built her in my garden in Hout Bay, a suburb of Cape Town. The build took 2 years with help from my wife Dehlia, Sean Collins and another friend, Nigel Watkins, who didn't join us for the race.

Part-way through that race, with the nearest land (the Brazilian island of Trinidade) about 500 miles away, we had a close call with a boat of about 40ft that was sailing unlit on a moonless night. I was in my berth under the cockpit, dozing with my brain on alert as usual. Brian and Adrian were in the cockpit and I heard a discussion start, trying to identify something ahead of us in the dark. We were under spinnaker, averaging about 10 knots, so closing pretty fast. I joined them in the cockpit to see that we were on course to T-bone this wooden boat. Two wooden boats colliding in mid-ocean would not have been pretty. The skipper of the other boat suddenly appeared on deck, shining a flashlight on his mainsail. Within another 15 seconds we would have been past him and would have made much noise to advise him that he had missed out on the action of unidentified ships passing in the night. I suspect that he still holds those images in his head of our big cat spinnaker bearing down on him fast.

We figured from his course and position that he was possibly en-route from Cape Horn to Europe. Next morning on the daily fleet report I told of our near-miss. The story appeared in the Cape Town newspaper next day, although not entirely accurately reported. We were also the subject of the daily cartoon, the original of which now hangs proudly on my wall at home.
The cartoon drawn by Grogan for the Cape Argus newspaper.
We had not seen our competition "Kelly Girl" since the start but they were always close behind in the handicap race. We hadn't seen another boat for many days although the position reports showed that there were always others somewhere over the horizon. Trinidade was a mark of the course and, as we approached the island toward sunset one day, we saw "Kelly Girl" behind us on the horizon. After that we saw each other at least once a day.

A few days after rounding Trinidade we were sailing in 5000m of inky blue water that suddenly turned brown and murkey. We hadn't seen a seabird for a few days and had hooked nothing on our fishing lure, trailed for many days. At the same time the sky was full of birds and our lure hooked a long-fin tuna. Within 5 minutes we had three of them aboard before deciding to keep the lure aboard rather than have nature think us greedy. The truth is that, with one fish for dinner that night and the other two in the freezer, we could not cope with any more. Within an hour we were back into inky blue water and 5000m of water, having completed our crossing of the 60m depth of the Almirante Saldanha Sea Mount. In another million years or so maybe this will be another island in the Atlantic.

Meanwhile our race-within-a-race carried on with us sometimes ahead and other times "Kelly Girl" appearing out of a thunder storm ahead of us. Cabo Frio was our first landfall in mainland Brazil and we rounded that promontory abeam of each other and 100 yards apart. We finished about 3am that night, about an hour ahead of "Kelly Girl", with the 20 minute handicap advantage in hand as well. Another 4 years on, in the 2000 Cape to Rio Race that same boat was skippered by circumnavigator Anthony Steward, who finished about 20 minutes ahead of us. These two boats are very closely matched for ocean racing.
Relaxing in the Bay of Islands after the race.
Since that 2000 Rio Race "Black Cat" has crossed this ocean twice more, to total six Atlantic crossings. She has also raced the 1700 mile Governor's Cup Race from Cape Town to St Helena Island twice, including line- and handicap-honours in the 2014/15 race.

It is now 24 years that "Black Cat" has been sailing. She has nearly 100 sisters on the water or in build. She has also spawned another 16 performance designs in sizes from 15 to 55ft for a wide range of concepts. These range from monohull dinghies to trailer-sailers and large catamarans, even fast little gaffers. More than 500 boats are on the water or being built to this range of designs. Most are amateur projects, with builders producing impressive quality.
Didi 29 Retro, a gaffer with a great turn of speed.
DH550, a very comfortable and eye-catching cruising cat.
Both of the boats above, as different as they may appear, are derivatives of the Didi 38 design. To see our other plywood designs go to https://dixdesign.com/plywood.htm. Or to see our full range of designs of all types and materials, go to our main website or our mobile website.

Wednesday, May 15, 2019

27ft Sportfisherman

I may not have been paying enough attention when I started posting about the 26ft sportfisherman project of Kevin Agee. When we first discussed this proposed design it was to be about 26ft, so that was what I called it. But it grew a bit between first discussions and agreeing the final lines. It is actually a bit over 27ft from stem to transom, so it is now the 27ft sportfisherman project. And that project is now moving into the final finishing stages.

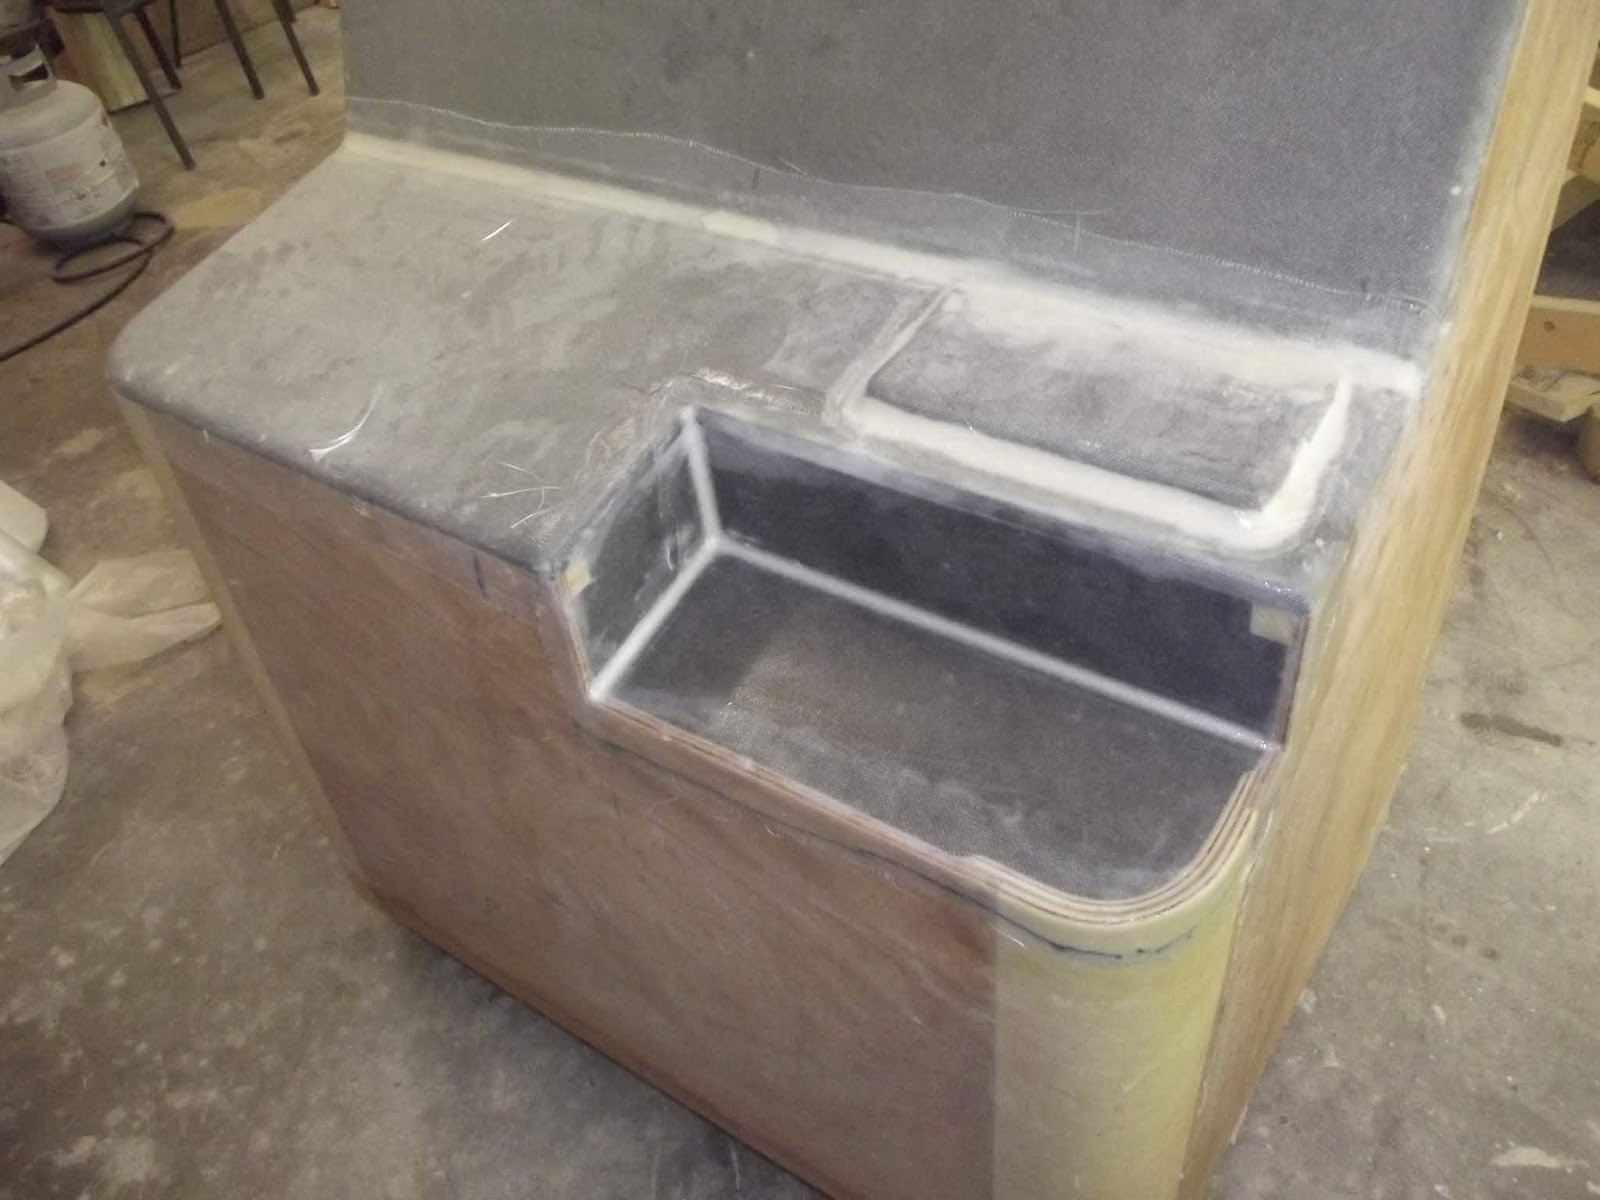
Having glassed the console, next we took a skillsaw to it. That was not to destroy it but to form a concealed switch panel with hinged cover to protect it from the elements.
Console after cutting to form the switch recess. The removed part will be used to form a hinged cover.
This is the infill piece that will fill in the hole in the console, with the switches mounted in the horizontal surface. We made this from 15lb Coosa Board.
The infill piece has been glued into the console. When finished it will hold the electrical switches, including the key-switch for ignition. 
Work has also started on fairing and priming the deck and rubrails to ready them for final painting.

After two coats of high-build epoxy applied by roller, the deck is ready for sprayed fairing compound.
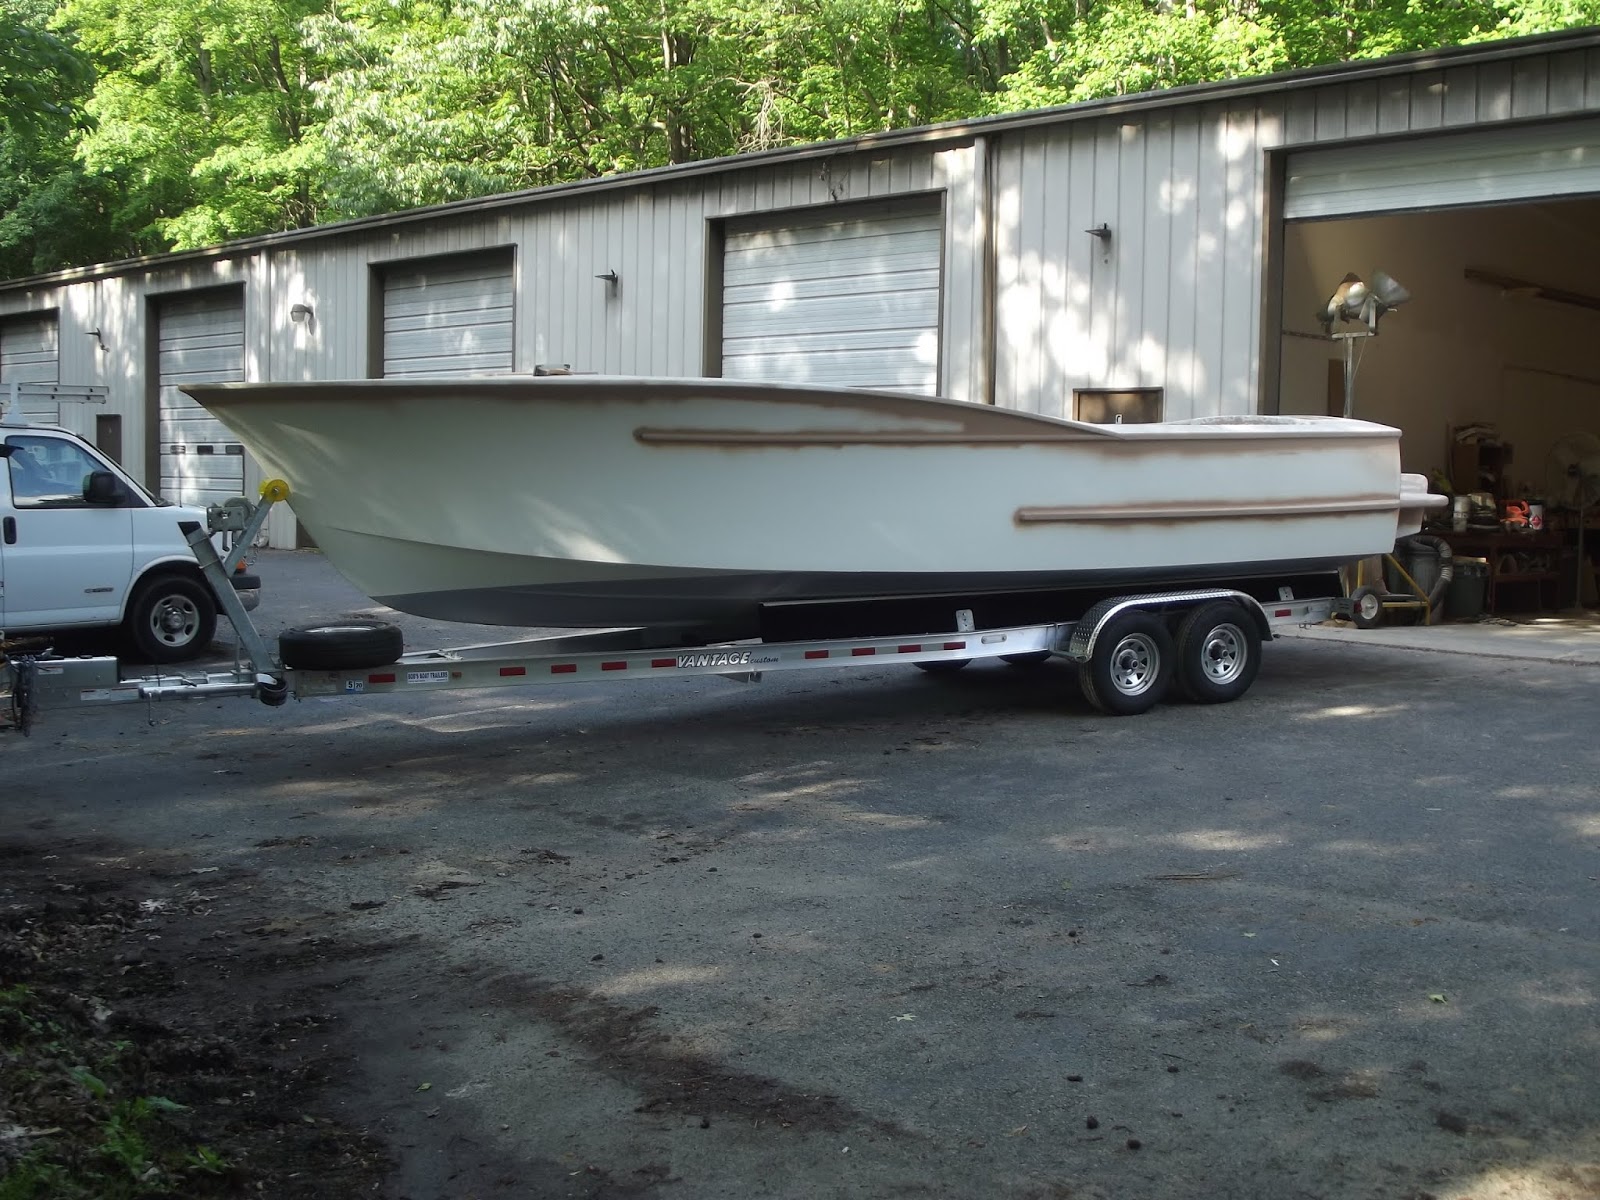
Kevin took delivery of his new double-axle trailer, which had been set up by the supplier to suit the hull bottom. We jacked the boat with trolley jacks, supporting it on boat stands and axle stands, then dismantled the cradle from underneath. Pushing the trailer in under the boat was an interesting process, with trolley jack and axle stand playing leapfrog with trailer frame and axles.
New double axle trailer.
Jacked and supported on boat stands and trolley jack, the cradle was dismantled.
Safely on its trailer, the new boat came out of its shed for the first time.
Showing its lines in daylight.
For the first time we are able to step back and look at the transom and engine bracket.
Launch is still a few weeks away. Plans won't be available until after she is wet and has done some sea-trials. See our full range of designs on our website or mobile website.

Sunday, April 7, 2019

Back to Building a Sportfisherman

I had to take an enforced break from working with Kevin Agee on his 26ft sportfisherman for a couple of weekends, the result of a very minor injury that tried its best to become a much bigger issue. Now I am back to help him as he approaches completion of his new boat.

Work on the console and leaning post has continued.
Console structure completed, with Coosa Board for the instrument and helm surface, plywood elsewhere.
Front view of console. The opening will have a door for access to the instrument wiring and batteries.
Leaning post structure completed. Helm seat is on the left and an aft-facing seat on the right, with the live bait well under the aft seat. The hole in the side is for a tackle box and the other side will have a refuse bin.
Inside view of the live bait well. The rounded ends were made with laminated plywood half-pipe sections and allow the water to swirl or flow smoothly rather than splashing back and forth between hard corners.
Framing for cabin hatch.
Cabin hatch cover. It will be hinged at the front.
The tumblehome rail, dry-fitted to set up the alignment. This is two layers of high-density Coosa board, cut to a trapezoidal section and tapered toward the front. It will be glassed before fitting and will have a stainless steel capping.
The underside of the rubrail has been faired to a large radius against the hull in the bow and will now be glassed along with the decks. The glass will be lapped onto the hull, which has been ground back to glass for a good bond.
Today we glassed the console and leaning post with a layer of 8oz woven glass. 
The side decks aft of the sheer break and the aft deck have also been glassed, with a layer of 1708 stitched fabric. Doing the same to the side decks forward of the break and the foredeck is scheduled for the next week or two.

This design won't be on our website until after Kevin's boat is launched. See our range of other designs on our main website or our mobile website.

Thursday, November 22, 2018

Cuddy Cabin of Sportfisherman.

The cockpit deck of Kevin Agee's 26ft sportfisherman project is in and the insides of the hull sides have been glassed, soon to be faired ready for painting. The deck of the outboard engine bracket has been completed as well. I detailed the deck extensions of the bracket for wood construction but Kevin chose to do these with a Coosa board core between plywood top and bottom skins. The entire structure was glassed inside and out for longevity.
Outboard engine bracket structure has been completed and glassed. Glassing of the
transom is about to be done. The holes in the deck are for access to steering and
control cables and hoses.
Kevin was also working on hull framing, where I modified them to reduce the projection into the cockpit and increased their thickness to maintain strength. The only frame unchanged was at the boxings for the fuel filler pipes, which has to be large enough to contain pipes, vents and fittings.
Boxing for fuel filler being glued up. The next frame forward has been trimmed
and doublers added both sides, then glassed.
Boxing completed and glassed, ready to be trimmed flush with the sheer.
In the meantime I have been working on the cuddy cabin, fitting out the interior and preparing the deck framing.
Cuddy cabin sole dry-fitted, along with the pedestal for the toilet and the two
small shelf seats.
Kevin glued in the plywood soles and seats during the week before my next visit.
He epoxied bolts into the plywood to serve as studs to fasten down the toilet 
My next task has been framing the foredeck to get it ready for the plywood deck. Kevin has chosen to use curly maple for the deck stringers, which will be clear finished against the white-painted deck. The stringers run through the forward bulkhead and butt up against the aft bulkhead of the cuddy cabin, bonded to the bulkhead and cleat. The forward ends of the stringers are notched into the sheer clamp, which involves some careful setting out for cutting the slots and cutting the slots with a tenon saw and chisel.
Cutting a notch in the sheer clamp for a stringer. The length of wood is a straight-edge
to guide the angles of the saw. The back face of the notch is cut at about 45 degrees to
minimise the amount of sheer clamp that is cut away in the process.

Completed notches for deck stringers, through bulkheads and into sheer clamps.
Deck stringers and hatch trimmers dry-fitted and ready for gluing.
Deck stringers are notched into sheer clamps and bulkheads. They will be glued in
after the hull skin inside the cuddy cabin has been faired and sanded.
This build will be completed during the winter and launch is being planned for the spring.

This design is not yet on our website and will appear there closer to completion of Kevin's boat. To see our range of designs, go to our desktop website or our mobile website.

Friday, September 7, 2018

Deck Structure of 26ft Sportfisherman

The deck structure of Kevin Agee's 26ft sportfisherman is coming together. Last post about this project I showed the frames for the flush deck hatches. Now the drain spigots for the integral gutters have been added. They will be connected to tubes to drain overboard.
Completed hatch frame, with two drains fitted in the gutter on the right.
The two drain spigots, seen with the frame turned upside-down. The sloped bottom surface of the gutter removes unwanted weight from the frame and increases the bonding area where it contacts the beam ends
We cut all of the deck beams to length and dry-fitted them into the hull, then fine-tuned the hatch positions. The beams were then accurately cut to fit each hatch in its correct location. The outer ends of the beams are notched into a beam clamp on the hull and they have intermediate support from the hull girders, fitting into slots in the top edges of the girders.
Deck beams dry-fitted and trimmed for the hatch frames, ready for all to be glued in. The large opening that has no beams crossing it is where the fuel tank will be installed, with a screw-down flush access panel over it. The centre console will also be over this area.
Same stage, looking aft from the cuddy cabin toward the transom.
This design is not on our website yet because the drawings are incomplete. To see our range of designs, go to our main website or our mobile website.


Wednesday, May 16, 2018

Fairing the Sportfisherman

Since my last post about Kevin Agee's 26ft sportfisherman project he has completed the glassing of the planing strakes and transom, after which the hull was ready for fairing to start. The fairing system chosen is from Alexseal Yacht Coatings.
Alexseal products for primers and fairing.
First to go onto the hull was 3 coats of high-build primer applied by roller. This formed the white base onto which the fairing/sanding layers were built up. It also gives a visual warning that sanding must not go any further into the coatings, instead more thickness must be built up to fill low spots before sanding can continue.

Next came a sprayed tan-coloured fairing coat that is sanded with longboards, removing high spots and revealing low spots that are missed by the sanding boards. The low spots are filled with a grey troweled putty, followed by more longboarding. Then the sequence of fairing coat, sanding, putty and sanding is repeated as many times as necessary until the hull is totally fair.

Sanding each time until the white primer is just starting to show on the original high spots ensures that there is not unnecessary build-up of fairing material on the hull. This is when the first fairing step showed its value. That first step was sanding out the bulk of unfairness from the raw wood strip surface before glassing the hull rather than adding filler to the low areas then glassing over them. Omitting that step would have increased the amount of fairing material on the hull, with resulting increase in weight.
This photo shows the bow after the first sprayed fairing coat. The white showing on the hull bottom is high-build primer. The edges of the fibreglass tapes on the bow show as ridges, even after feathering by sanding ahead of applying the high-build primer. The trowelled filler will be used in such areas to build them up flush.
Camo boat, good for duck hunting. After 2 or 3 cycles of sand/spray/sand/fill/sand the hull fairing is almost done. The white is high-build primer, the tan is spray fairing and the grey is trowelled filler.
Next will be a final layer of spray filler ahead of preparations for turning the hull over in coming weeks.

This design is not yet on our website. To see our range of designs, go to our main website or our mobile website.

Monday, April 9, 2018

26ft Sportfisherman - Working Both Ends

The longboard sanding of Kevin Agee's boat is done. The hull is as near to fair as it needs to be at this stage. Still to come is the glassing, followed by sprayed fairing compound and final fairing.

I completed the shaping of the stem capping. This involved planing and sanding it flush with the hull skin then rounding off the tip to a radius suitable for the fibreglass cloth to wrap around. Also fairing it smoothly into the front end of the keel runner.

The hull is looking very nice, with fair curves to the profile and chine edges. Any bumps and dips in those edges will catch the eye, so it is worthwhile to take care with smoothing them out before any glassing is done.
Stem capping shaped flush with the hull skin and rounded off to a neat radius.
Fair curves
Fairing of stem capping into keel runner completed.
The other work going on is building the bracket that will support the outboard engine/s. Previous posts have shown how the fore/aft gussets pass through the transom and bond onto the girders inside the hull. Now the laminated plywood engine board has been built and glued onto those gussets. Before doing this the gussets were checked for alignment relative to each other and the transom, with some minor trimming to true them up.
Completed engine board. This is the aft face. The stepped bottom edge matches the angle on the boat and will be planed smooth before the bottom skin is glued on.
Front face of the engine board, slotted for the gussets that will connect it to the transom.
Engine board glued onto the gussets.

Test-fitting the bottom plywood onto the engine bracket.
Glassing the hull will be starting soon and in a few weeks the hull will be ready to be turned over. Follow progress in future posts.

This design has not been completed yet, so is not on our website. I hope to have it available in a few months.

See our range of designs on our main website or our mobile website.

Thursday, December 8, 2016

Didi 26 and Kidz At Sea Program

I have written before about the Kidz at Sea program in Sint Maarten. Guided by Garth Steyn, the program trains school children in the skills of boatbuilding then teaches them how to sail. They are using our Didi 26 design for this wonderful work, starting from CNC plywood hull/deck/bulkhead kits supplied by our CNC sub-contractor.

They launched the first boat, named "Purple Heart", last year and raced her in the Heineken Regatta as part of their program. Their sailing skills have benefitted from time spent on the water since the regatta and they recently had her doing 17 knots under spinnaker.
Garth Steyn speaking at the launching of "Purple Heart", with the woodworking teacher and his students.
Now boat #2 is progressing. Garth sent me photos today of the progress and the new boatbuilding class that is creating her. They plan to have her on the water and racing in the 2017 Heineken Regatta, with two Kidz at Sea crews competing boat-for-boat with each other.
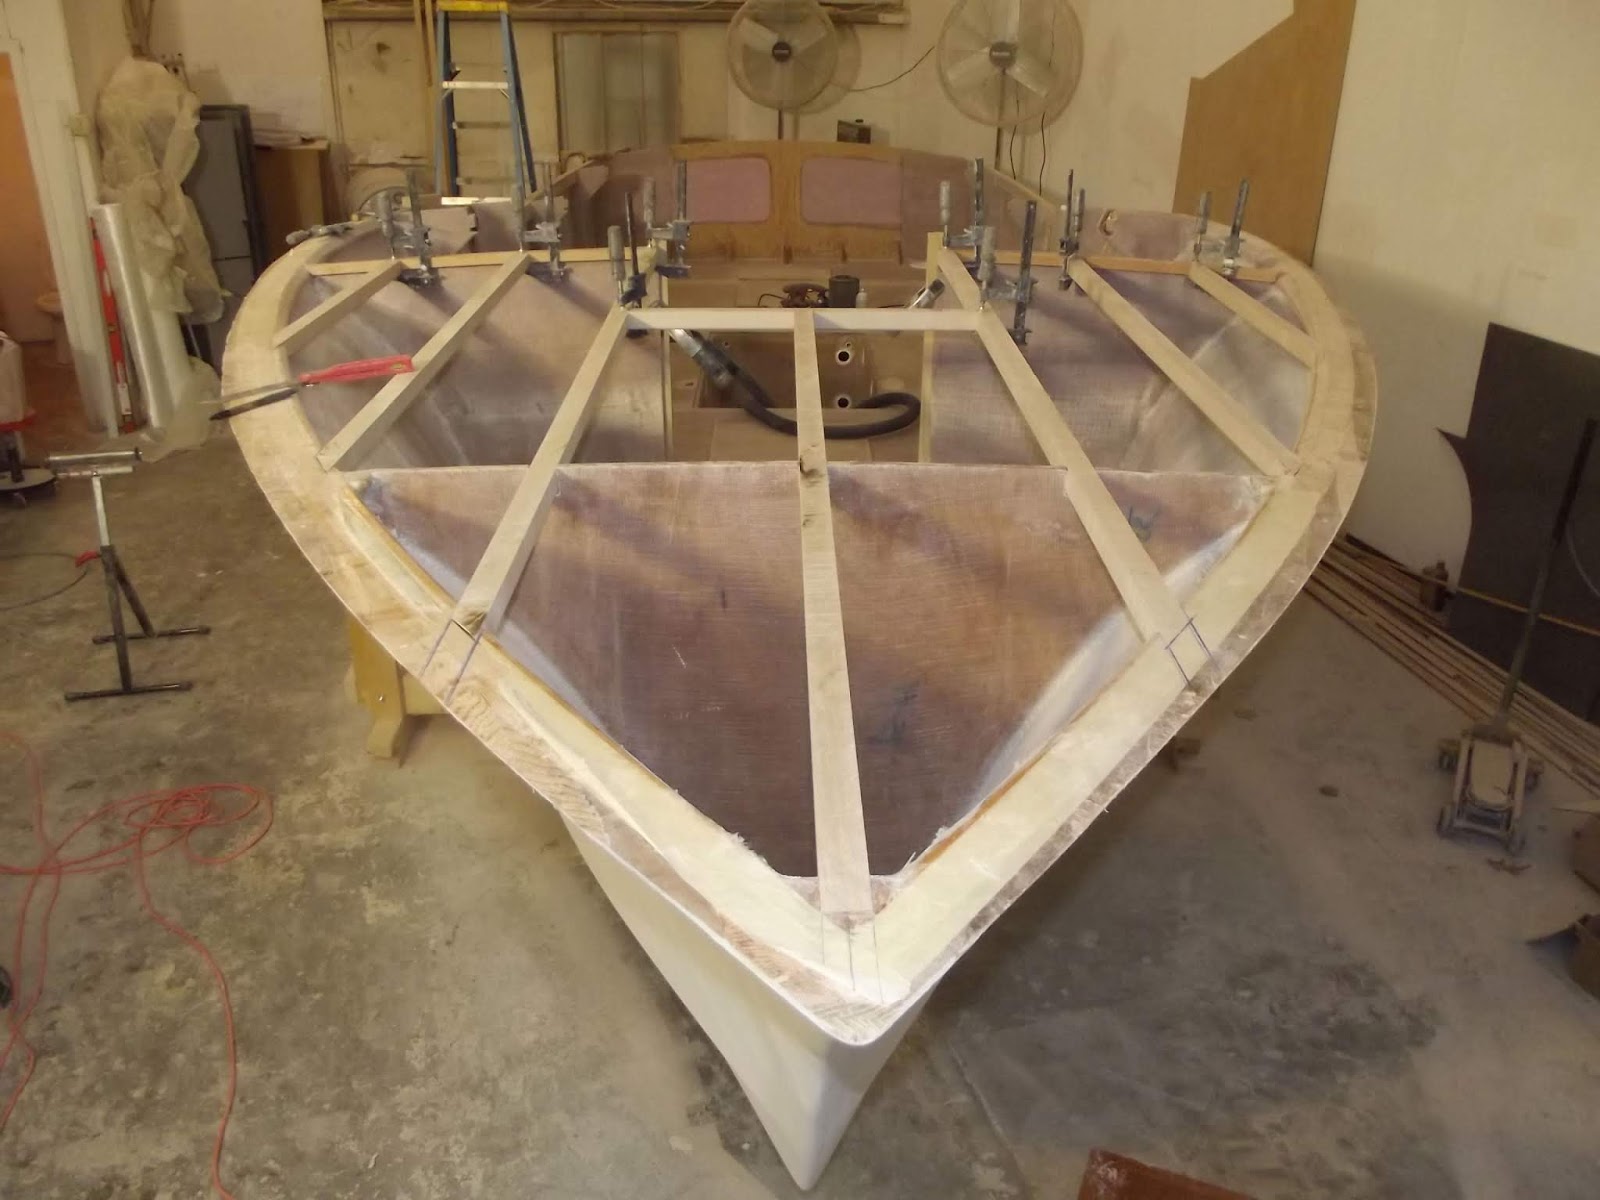
Bulkheads and framing, ready for the hull skin.
Bottom panels being dry-fitted ahead of gluing.
Same stage, seen from the bow.
View of the radiused part of the hull framing. The third stringer from the top is where the junction will be with the side panel.
The students who are building boat #2, with their woodworking teacher.
This is a very worthwhile program and I am proud to be part of it. It is building new skills in a community that sorely needs them to expand their employment options.

To see more of this and our other designs, go to our main website, mobile website or Flickr photo albums.